
The most striking piece in your wardrobe this year won’t be the one you bought — it’ll be the one you saved. These ten beginner-friendly projects turn forgotten denim, tired blouses, and charity-shop finds into clothes you’ll actually reach for, using simple tools and zero pressure to be perfect.
Quick Picks: Best Upcycled Fashion Supplies for 2026
Short on time? Here are the pieces and tools most readers start with — a few good bases and the supplies that do the heavy lifting:
Upcycled fashion is simply the art of taking clothes you already own — or rescue secondhand — and giving them a second life instead of sending them to landfill. It’s the most affordable, most personal, and arguably the most stylish corner of sustainable fashion right now.
And the best part? You don’t need a sewing machine, a fashion degree, or hours of free time. Most of the DIY upcycled clothing projects below take an afternoon or less. Several need no needle and thread at all.
Below you’ll find ten easy upcycling projects for beginners, each paired with the one tool or base piece that makes it genuinely simple. Start with whichever speaks to you — there’s no right order, and no project here is hard.
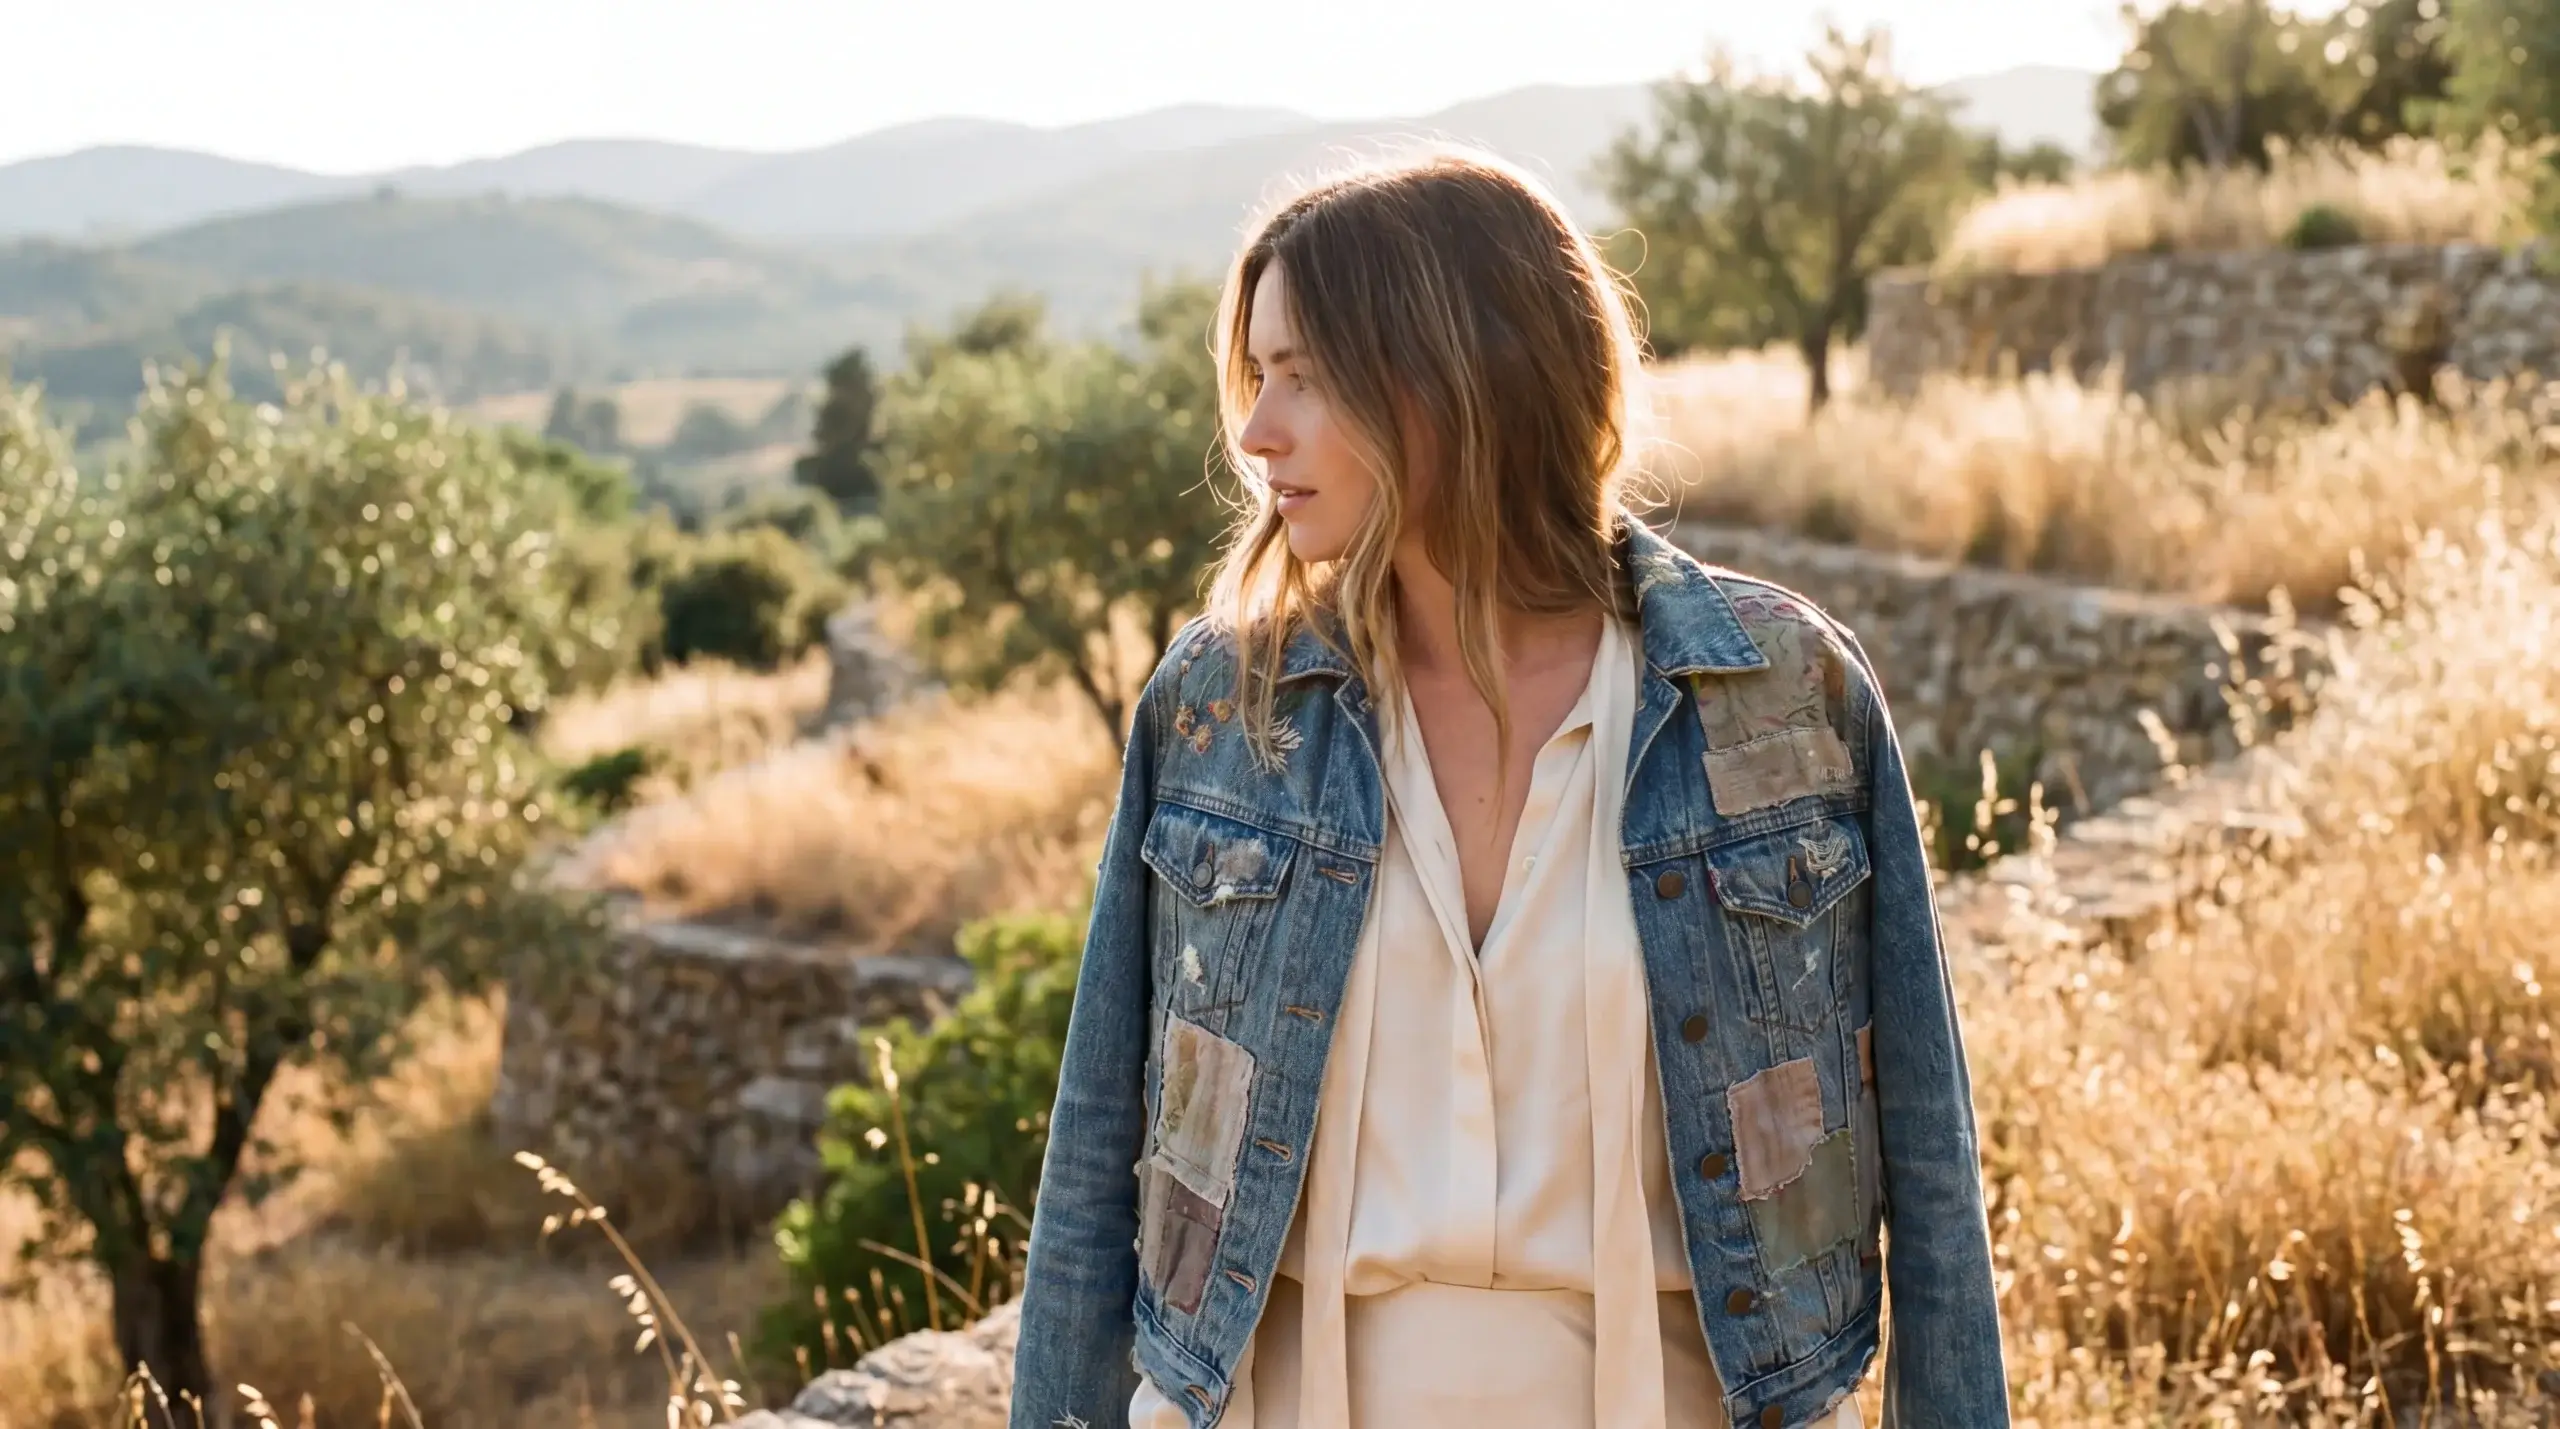
New to upcycling? A denim jacket is the most forgiving base you can start with — it hides mistakes and only looks better with character.
Sustainably made · Trusted by conscious shoppers
1. Revive a Denim Jacket with Patches

A denim jacket is the perfect first canvas: sturdy, structured, and endlessly customisable. Whether you’re reviving a vintage jacket upcycling base from a thrift store or refreshing one you already own, patches let you cover wear, hide small holes, and tell a little story across the back and sleeves.
This is the gateway patchwork denim jacket project — no stitching required if you choose iron-on patches.
Pro Tip: Lay all your patches out and photograph the arrangement before committing. Once they’re ironed on, they’re staying.
Start with a solid jacket base that takes embellishment well.
Glamaker Women’s Jean Jacket
Why We Love It: A classic button-down denim cut with roomy pockets and a trend-right shape for 2026. The mid-weight denim is firm enough to hold patches, paint, and embroidery without puckering, which makes it ideal for almost every project in this guide.
Best For: A reliable, customisable base when your thrift luck runs dry.
Key Features:
- Sturdy mid-weight denim that holds embellishment beautifully
- Timeless button-down silhouette with functional pockets
- Neutral wash that pairs with patches, paint, or embroidery
Pro Tip: Pre-wash and fully dry it before decorating so the denim won’t shrink around your work later.
Heads Up: Denim runs slightly fitted, so size up if you plan to layer it over chunky knits.
Your blank canvas for every project below 🌿
Sustainably made · Trusted by conscious shoppers
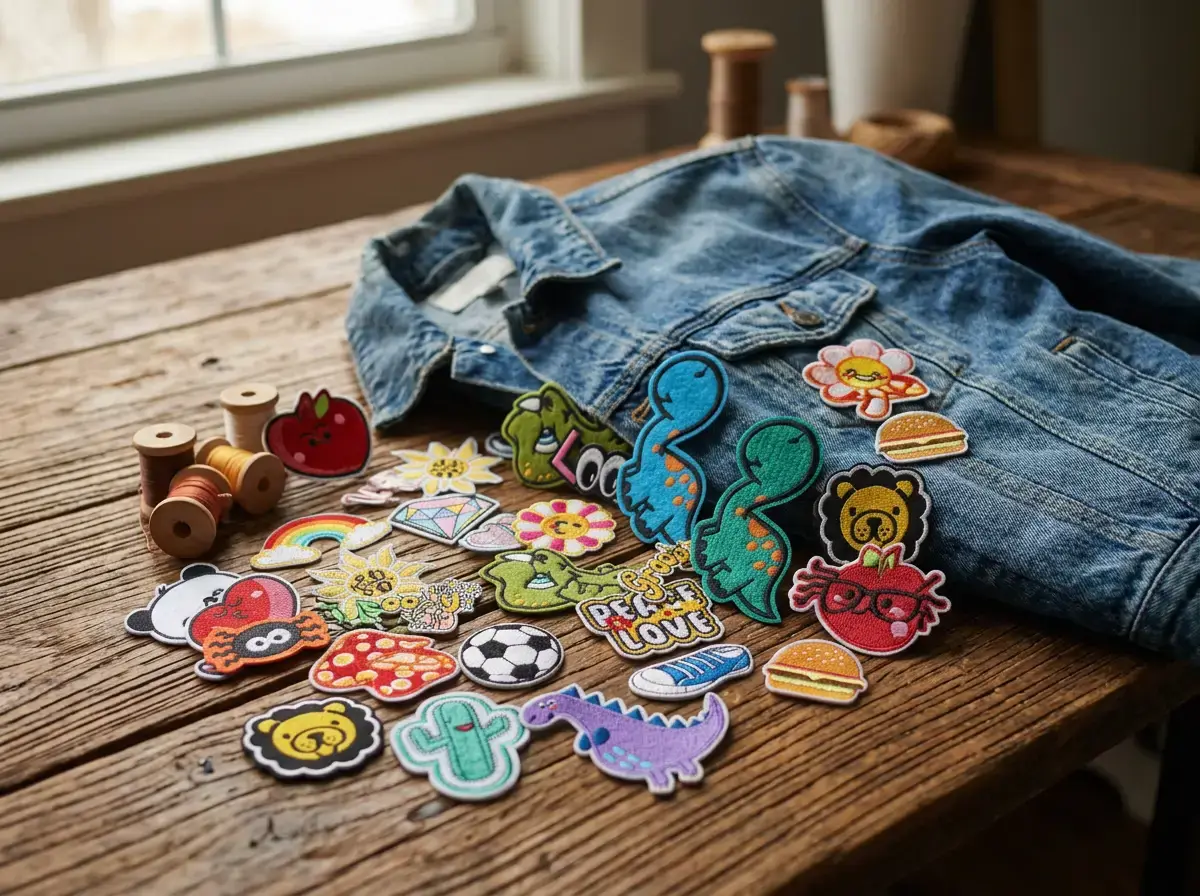
Harsgs Embroidered Iron-On Patches
Why We Love It: This 100-piece assortment means you’ll never run out of options — flowers, hearts, stars, and quirky shapes that suit any mood. Because they’re iron-on, you can transform a plain jacket in twenty minutes with no sewing at all.
Best For: Covering small holes and adding instant personality.
Key Features:
- 100 mixed embroidered designs in one pack
- Iron-on backing — no needle, no thread
- Works on denim, canvas, cotton, and tote bags too
Pro Tip: Press for the full recommended time with a thin cotton cloth between the iron and patch, then add a few hand stitches around high-stress patches (elbows, cuffs) so they survive the wash.
Heads Up: Iron-on bonds last longer on natural fabrics than on stretchy synthetics.
Cover, decorate, and personalise in one afternoon 🌿
Eco-conscious choice · Everyday comfort
2. Paint Custom Denim Panels
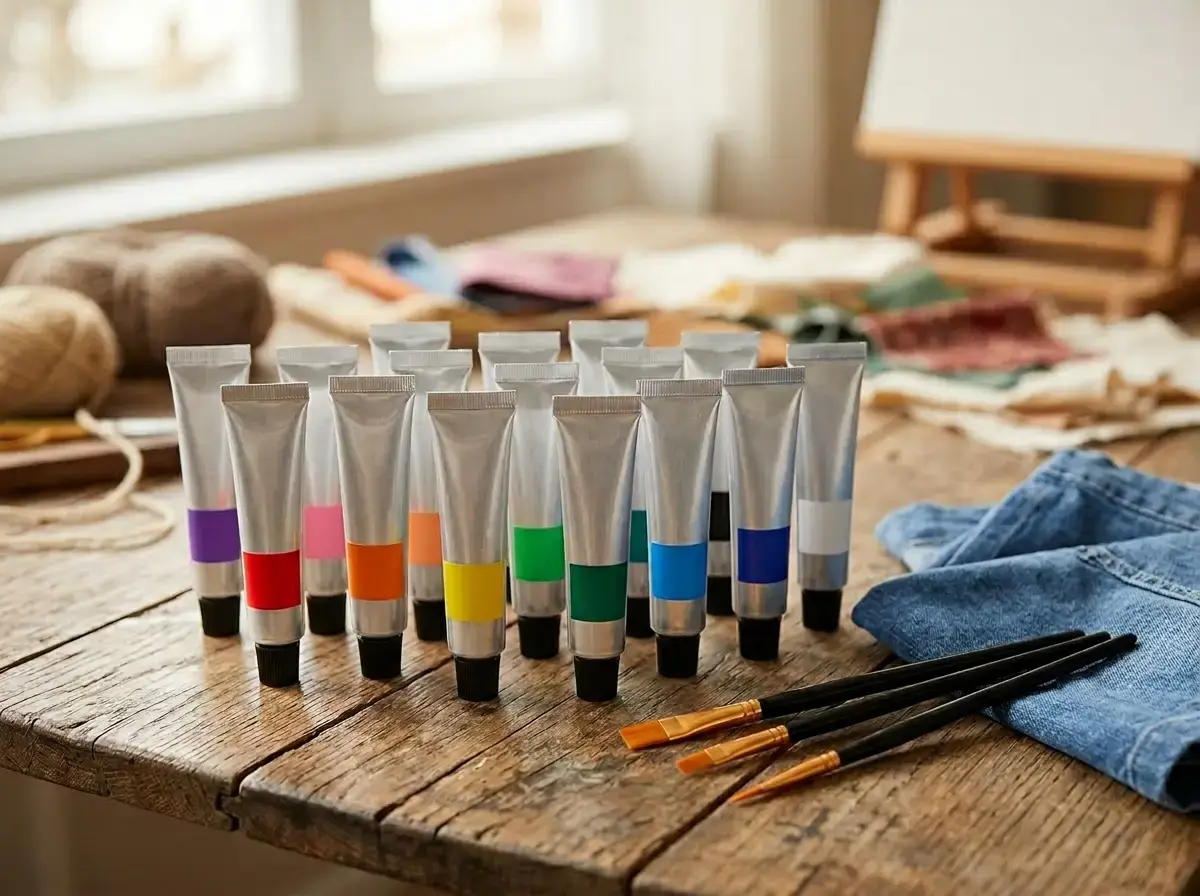
Fabric paint turns a plain jacket, jeans, or tote into a one-of-a-kind piece. You can go bold with a painted back panel, or subtle with a small motif on a pocket. Either way, it’s forgiving — mistakes blend into “intentional texture.”
This is one of the most satisfying DIY upcycled clothing projects because the results look high-effort but the technique is genuinely beginner-friendly.
Pro Tip: Slide a piece of cardboard inside the garment so paint doesn’t bleed through to the other side.
Shuttle Art 15-Tube Fabric Paint
Why We Love It: A trusted craft-brand set with rich, permanent colour that stays soft on fabric instead of going stiff and crackly. The fifteen tubes plus brushes give you everything to start without hunting for extras.
Best For: Painted panels, motifs, and lettering on denim or canvas.
Key Features:
- 15 permanent, non-toxic colours with brushes included
- Stays flexible and soft once dry — no cracking
- Works on clothes, shoes, bags, and DIY projects
Pro Tip: Heat-set the dry paint by ironing over a cloth so your design survives years of washing.
Heads Up: Let each colour dry fully before layering, or shades can muddy together.
Turn any plain piece into wearable art 🌿
Sustainably made · Trusted by conscious shoppers
3. Draw-On Line Art and Lettering
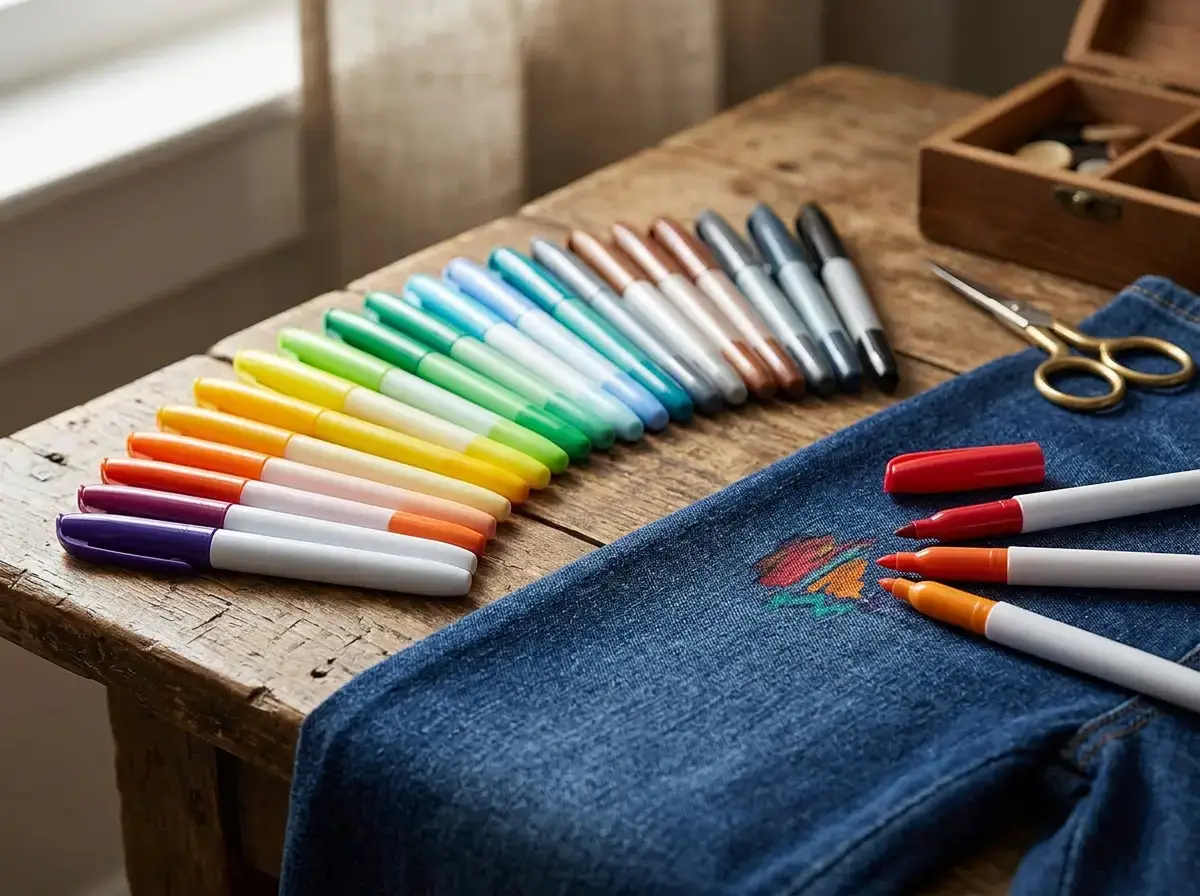
If a paintbrush feels intimidating, fabric markers give you the same custom look with the control of a pen. Sketch delicate line-art flowers along a collar, add a meaningful word inside a cuff, or outline a design before filling it with paint.
Markers are the easiest way into easy upcycling for beginners — if you can doodle, you can do this.
Pro Tip: Practise your design on a fabric scrap first to get a feel for ink flow and pressure.
Shuttle Art Fabric Markers
Why We Love It: Fine, permanent tips that glide on smoothly and dry without bleeding, in a wide colour range that suits both delicate line work and bold lettering. With tens of thousands of happy reviews, this is a genuinely proven set.
Best For: Detailed designs, outlines, and personalised lettering.
Key Features:
- Fine permanent tips for precise control
- Broad colour range for line art and lettering
- Quick-drying, no-bleed ink on cotton and denim
Pro Tip: Stretch the fabric flat and taut (an embroidery hoop works well) so your lines stay crisp.
Heads Up: Heat-set with an iron afterward for the most wash-resistant results.
Custom designs with the ease of a pen 🌿
Eco-conscious choice · Everyday comfort
Building your first upcycling kit? A beginner embroidery set covers collars, cuffs, and patches in one go.
Eco-conscious choice · Everyday comfort
4. Embroider a Collar or Cuffs
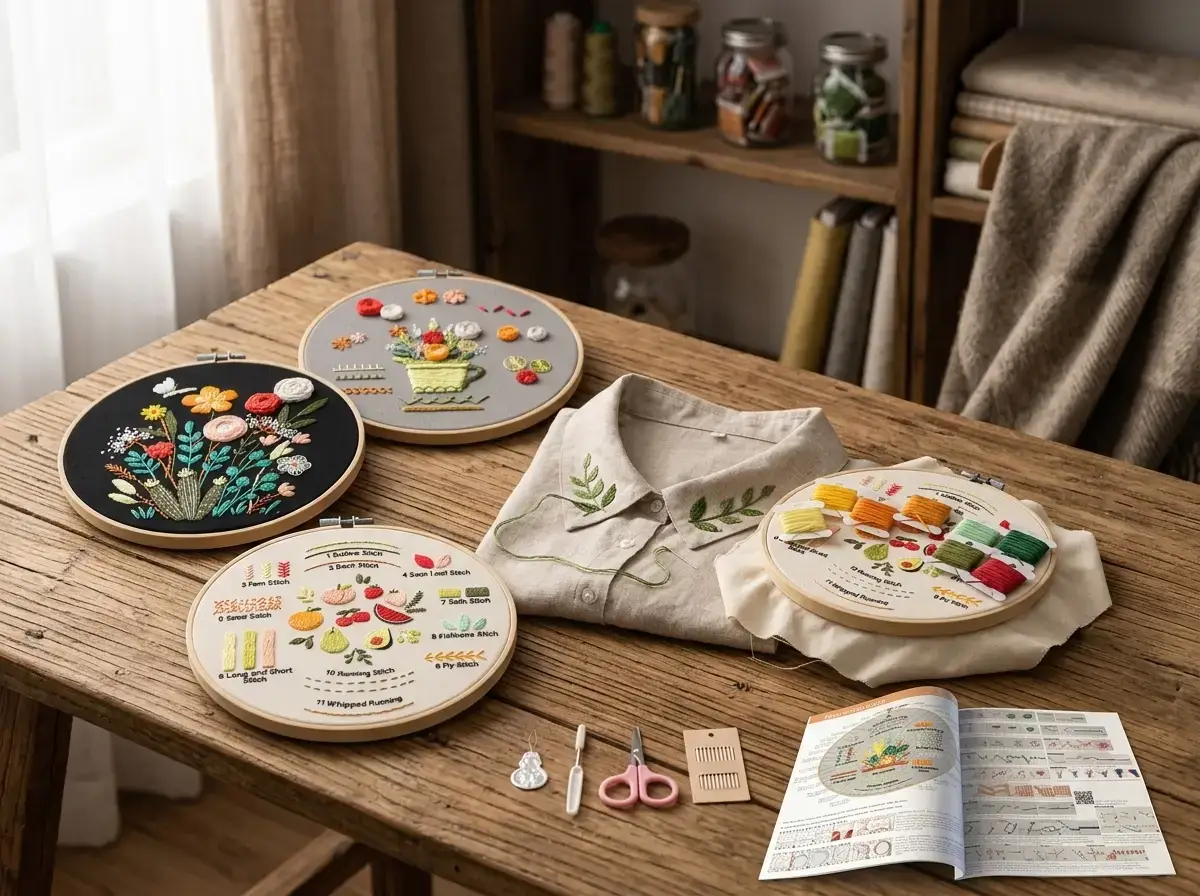
A few simple stitches along a collar or cuff is the detail that makes people ask “where did you get that?” Embroidered collar and cuffs work on blouses, shirts, denim, and knitwear alike, and the slow, meditative rhythm of hand-stitching is half the joy.
Don’t overthink the design — a scatter of tiny flowers or a single sprig of leaves looks beautifully intentional.
Pro Tip: Draw your design lightly with a water-soluble marker first, then stitch over the lines.
Meyocky Beginner Embroidery Kit (4 Pack)
Why We Love It: Designed specifically for first-timers, this four-pack includes hoops, pre-printed patterns, threads, and needles — so there’s no guesswork about what to buy. It’s a gentle, complete on-ramp to a skill you’ll use across every project here.
Best For: Absolute beginners learning collar and cuff embroidery.
Key Features:
- Everything included: hoops, threads, needles, patterns
- Pre-printed designs remove the guesswork
- Four projects to practise before you free-style
Pro Tip: Master the back-stitch and the lazy-daisy first; together they cover most floral collar designs.
Heads Up: The included thread is generous but you may want extra colours for larger pieces.
Learn a lifelong skill in one weekend 🌿
Sustainably made · Trusted by conscious shoppers
PRETTYGARDEN Floral Blouse
Why We Love It: A soft V-neck chiffon blouse that’s lovely as-is and even better as a base for hand embroidery along the collar or cuffs. The flowing fabric drapes beautifully and the existing floral print gives you a colour palette to echo in your stitching.
Best For: A ready-to-embellish top that already looks pulled-together.
Key Features:
- Lightweight V-neck chiffon with a boho feel
- Print palette makes thread-colour choices easy
- Versatile across warm and transitional seasons
Pro Tip: Keep embroidery to the collar edge and cuffs so the lightweight fabric doesn’t pull or pucker.
Heads Up: Chiffon is delicate — use a small hoop and a fine needle to avoid snags.
A graceful base that takes embellishment well 🌿
Eco-conscious choice · Everyday comfort
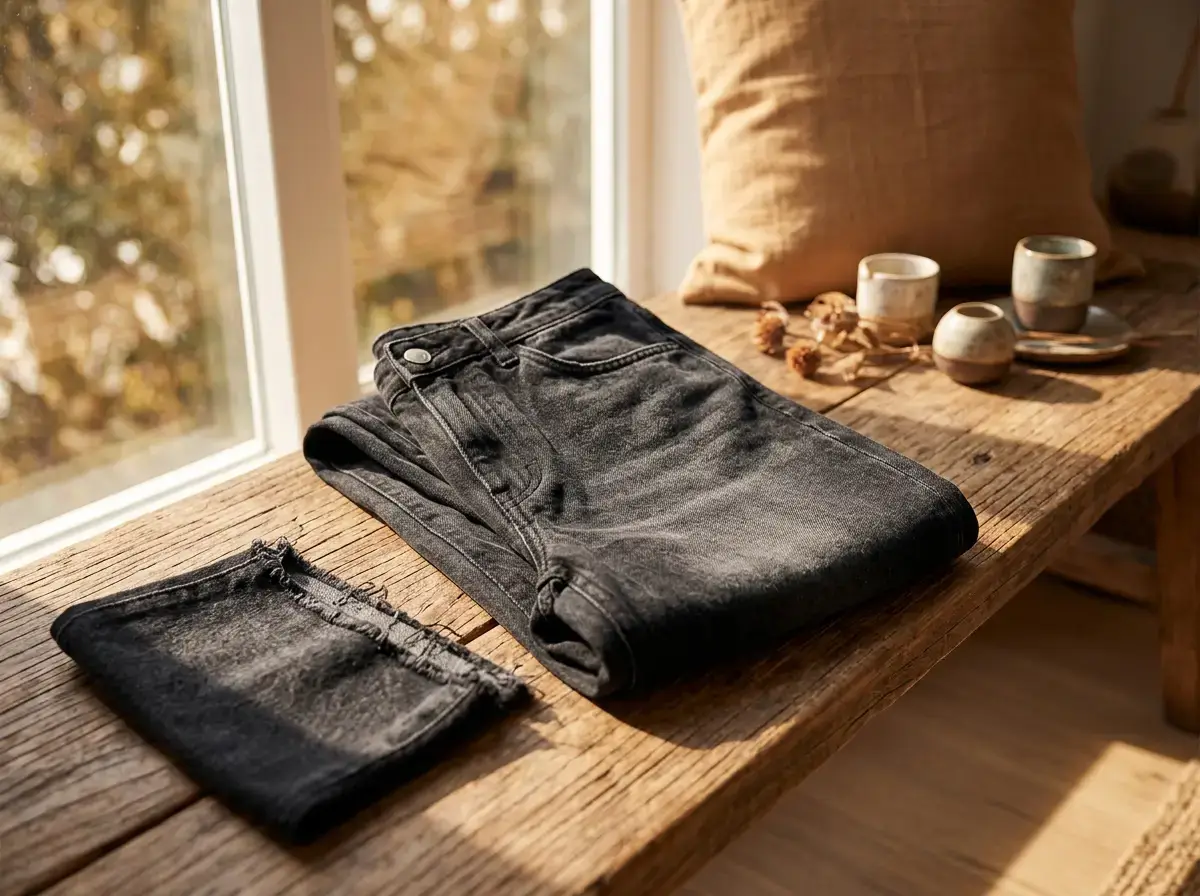
5. Crop, Cut, and Fray for a Modern Silhouette
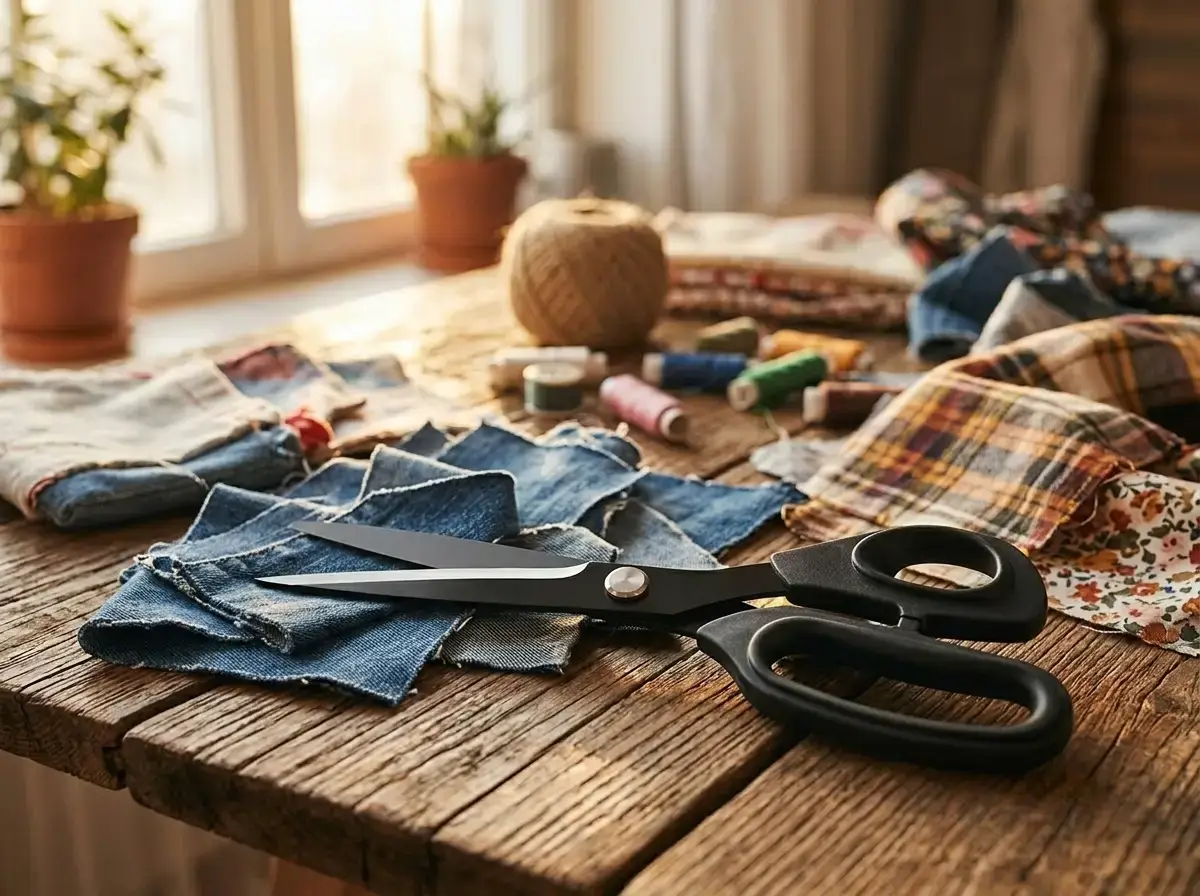
Sometimes the most powerful upcycle is subtraction. Cropping a boxy shirt, trimming wide-leg jeans to a fresh length, or fraying a raw hem instantly modernises an old piece. A sharp pair of fabric scissors is the difference between a clean line and a frustrating, jagged mess.
This no-sew refashion takes minutes and costs nothing but a little courage.
Pro Tip: Cut a touch longer than you think — you can always trim more, but you can’t add it back.
SLEMOON Fabric Scissors
Why We Love It: Heavy-duty titanium-coated blades slice cleanly through denim, canvas, and multiple layers without chewing the fabric. Dedicated fabric shears (kept away from paper) stay sharp far longer and make every cutting project easier.
Best For: Clean crops, hems, and fraying edges.
Key Features:
- Titanium-coated blades for heavy fabrics
- Comfortable grip for longer cutting sessions
- Clean cuts through denim and multiple layers
Pro Tip: To fray a raw hem, snip just above your cut line, then pull the horizontal threads with your fingers for a soft, lived-in edge.
Heads Up: Keep these for fabric only — cutting paper dulls them fast.
Clean cuts make every refashion easier 🌿
Sustainably made · Trusted by conscious shoppers
Sidefeel Wide-Leg Jeans
Why We Love It: A high-waisted, wide-leg cut with a raw hem that’s begging to be customised — crop the length, fray the edges, or add a painted panel. With thousands of reviews, the stretch fit is genuinely comfortable, so your finished piece is one you’ll keep wearing.
Best For: A modern denim base for cropping, fraying, and paint.
Key Features:
- High-waisted wide-leg shape that’s on-trend for 2026
- Raw hem ready for cropping and fraying
- Stretch denim for all-day comfort
Pro Tip: Try them on with your usual shoes before cutting so you crop to a length that actually works in real life.
Heads Up: The wide leg runs long by design — perfect if you’re cropping, worth noting if you’re petite.
A denim base made for customising 🌿
Eco-conscious choice · Everyday comfort
6. No-Sew Hems and Turn-Ups
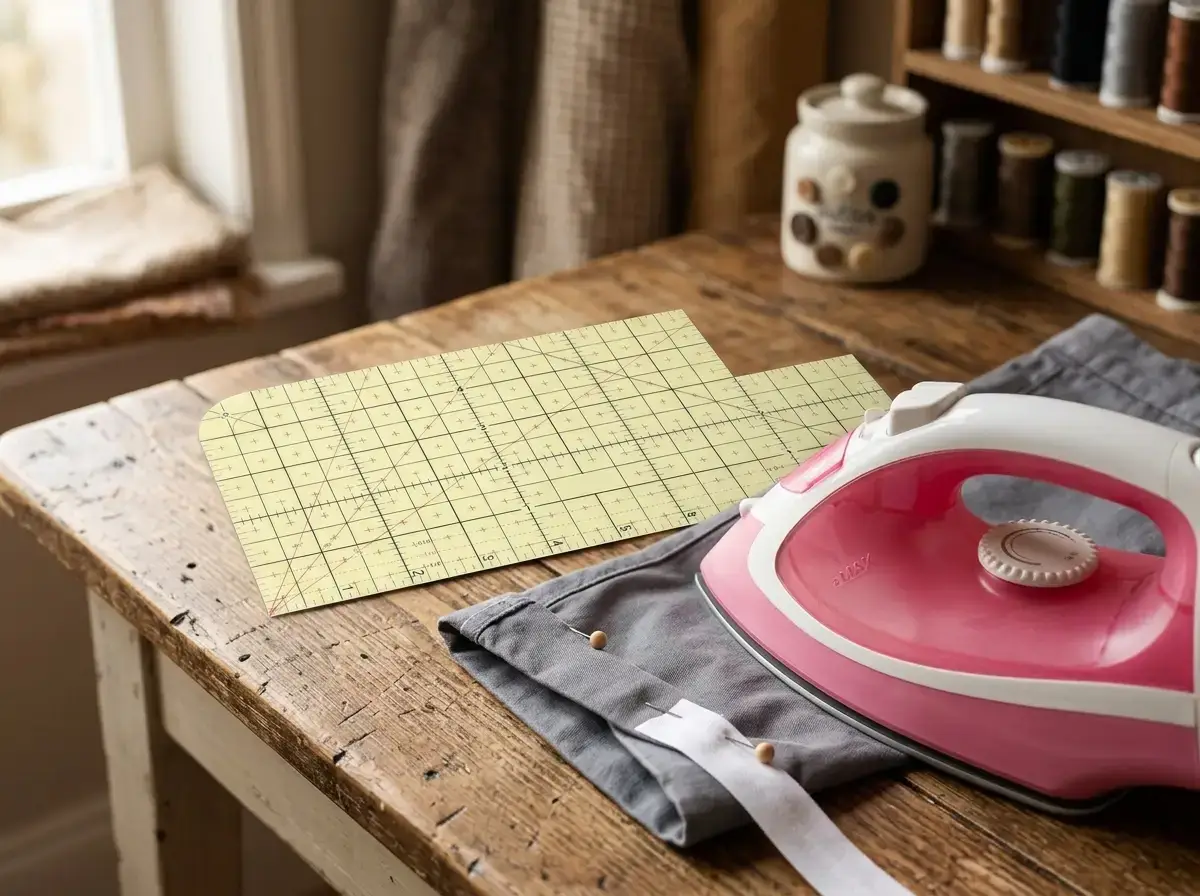
Hemming used to be the reason perfectly good clothes sat unworn at the back of the wardrobe. Not anymore. Iron-on hem tape and a hot hem ruler let you take up trousers, sleeves, and skirts in minutes — no sewing machine, no hand-stitching.
This is the quietly life-changing entry in any no-sew refashion list, because it rescues so many “almost right” pieces.
Pro Tip: Measure and press the fold first, then bond — a crisp pressed crease is half the battle.
MYLbeter Hem Tape and Hot Ruler
Why We Love It: The clever hot ruler lets you press an exact, even fold every time, and the hem tape bonds it permanently with a hot iron. Together they make professional-looking hems genuinely foolproof for beginners.
Best For: Quick, even hems with no needle.
Key Features:
- Heat-resistant ruler for perfectly even folds
- Iron-on hem tape for a permanent bond
- Works on trousers, sleeves, skirts, and curtains
Pro Tip: For thick denim hems, press a little longer and add a few anchor stitches at the seams for durability.
Heads Up: Bonded hems are best on items that aren’t washed at very high temperatures.
Perfect hems without a sewing machine 🌿
Sustainably made · Trusted by conscious shoppers
7. No-Sew Appliqué and Bonding
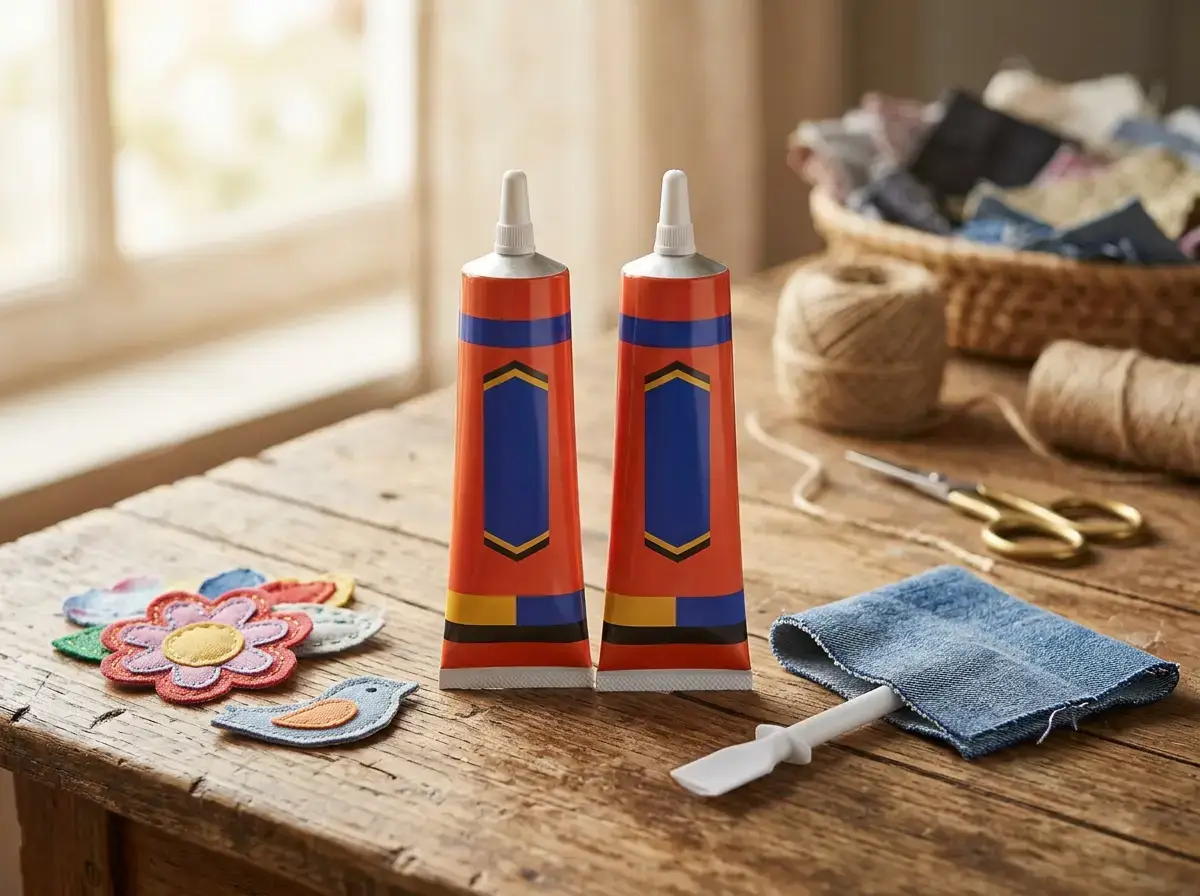
Fabric glue is the secret weapon of upcyclers who don’t want to sew. Use it to attach appliqués, secure trims and lace, bond patches onto stretchy fabrics that resist ironing, or fix a fallen hem in seconds. A good washable fabric glue holds beautifully through the laundry.
It’s the most beginner-proof way to add detail, and it forgives shaky hands.
Pro Tip: Apply a thin, even layer and press for a minute — more glue is not more hold, it’s just more mess.
FITTDYHE Fabric Glue (2 Pack)
Why We Love It: A permanent, washable formula that dries clear and flexible, so bonded areas stay soft rather than stiff. The two-pack means you won’t run dry mid-project, and it works where an iron can’t.
Best For: No-sew appliqué, trims, and quick repairs.
Key Features:
- Permanent, washable, dries clear
- Stays flexible — no stiff patches
- Bonds fabrics that don’t take iron-on well
Pro Tip: Let glued pieces cure fully (give them a day) before the first wash for the strongest bond.
Heads Up: Work in a ventilated spot and test on a hidden seam first.
Add detail anywhere — no needle needed 🌿
Eco-conscious choice · Everyday comfort
8. Visible Mending and Hand Stitching
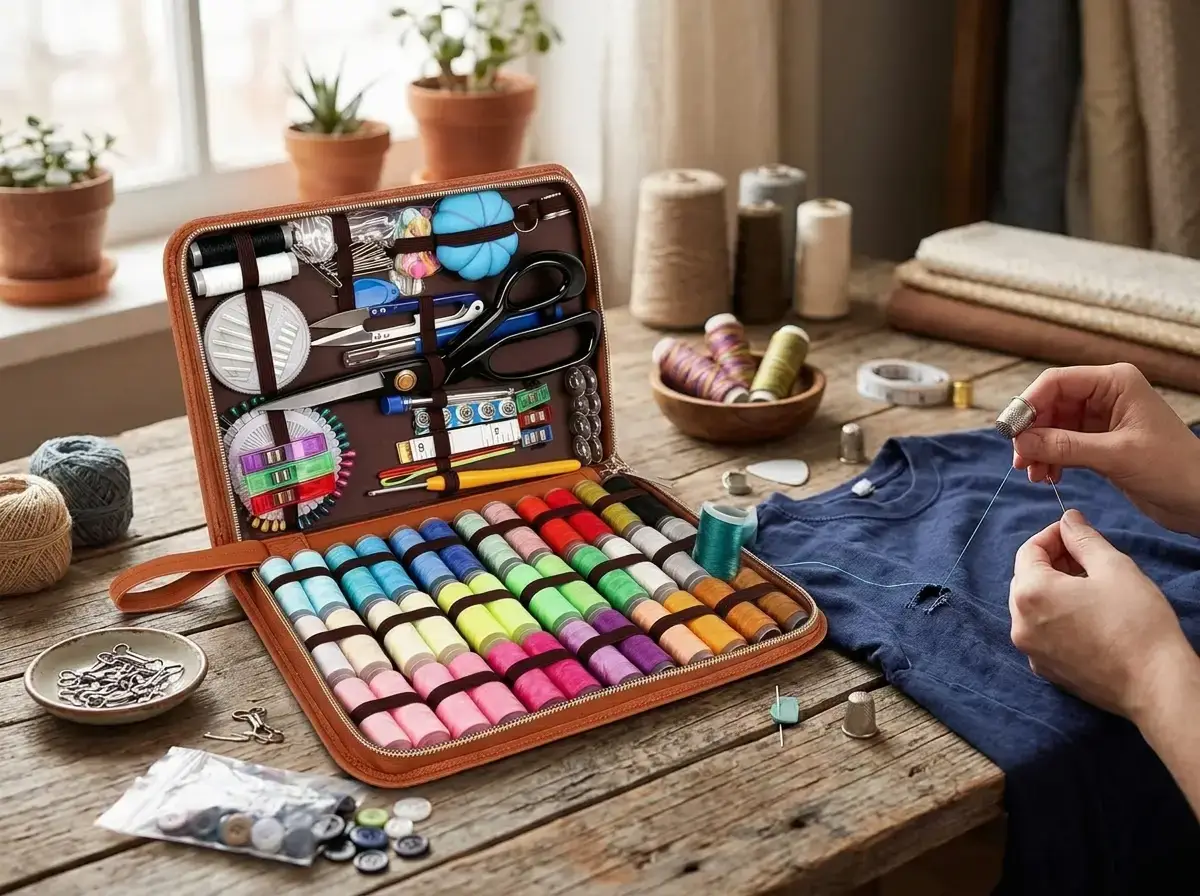
Visible mending flips the old rule on its head: instead of hiding a repair, you celebrate it. A contrasting patch of stitches over a worn knee or a small hole becomes a feature, not a flaw. It’s deeply sustainable, surprisingly relaxing, and needs only the basics.
Every wardrobe deserves a small sewing kit — it’s the foundation of keeping clothes in use for years longer.
Pro Tip: Use a thread colour that contrasts on purpose; a neat grid of running stitches over a worn patch looks intentional and modern.
Hoarecal Sewing Kit
Why We Love It: A generous all-in-one kit with needles, threads in many colours, scissors, and the small notions that always go missing right when you need them. It’s the quiet workhorse behind every mend, hem, and button repair.
Best For: Everyday repairs and visible mending basics.
Key Features:
- Comprehensive set of needles, threads, and notions
- Compact case that’s easy to store or travel with
- Covers mending, hemming, and button repairs
Pro Tip: Keep it where you get dressed — a kit you can see is a kit you’ll actually use.
Heads Up: Needles are fine for most fabrics, but add a heavy-duty needle for thick denim repairs.
The foundation kit every upcycler needs 🌿
Sustainably made · Trusted by conscious shoppers
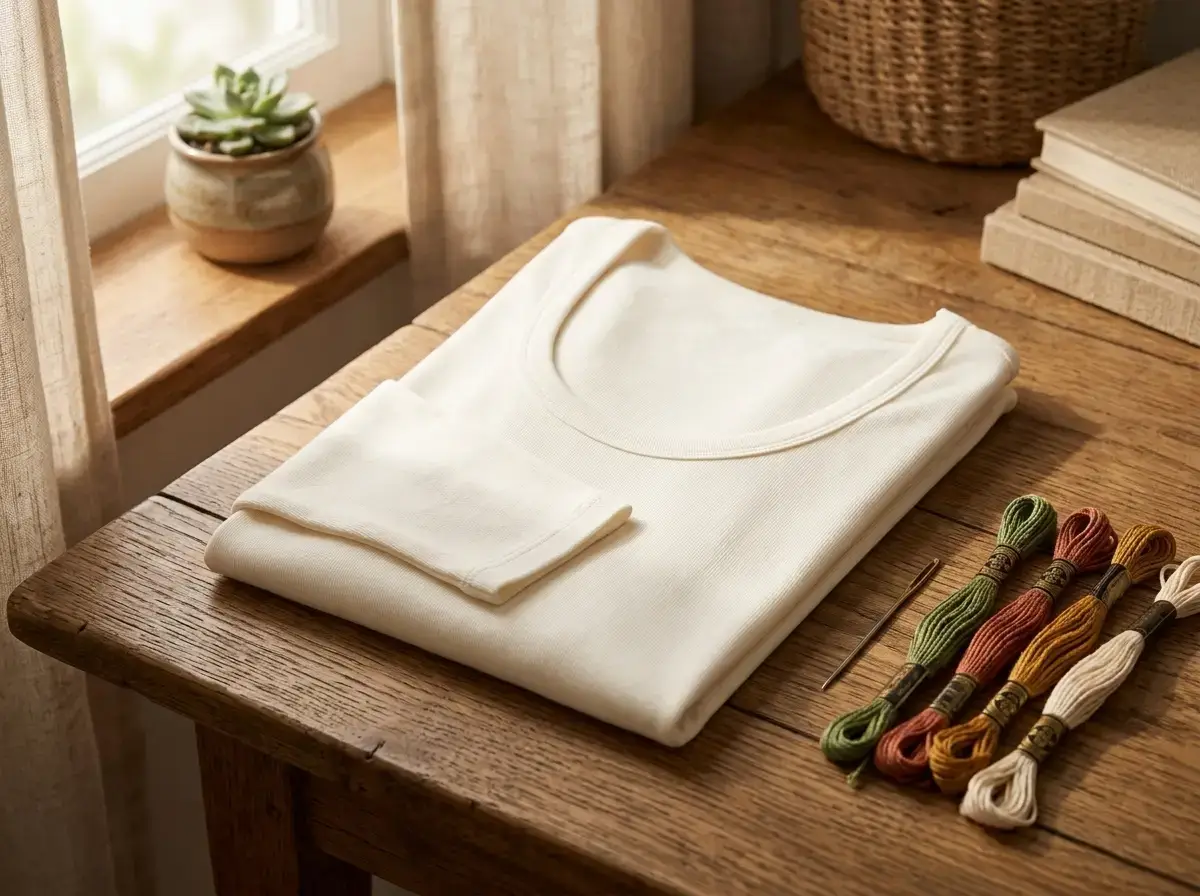
ENERFUL Long-Sleeve Scoop-Neck Shirt
Why We Love It: A slim-fit scoop-neck basic that’s the ideal blank layer for practising your new skills — embroider the cuffs, mend a small hole as visible art, or wear it plain under everything. Sold in multi-packs, it’s affordable enough to experiment on without worry.
Best For: A low-stakes base to practise mending and embellishment.
Key Features:
- Slim-fit scoop neck in a soft stretch knit
- Multi-pack value — perfect for experimenting
- Layers cleanly under jackets and cardigans
Pro Tip: Practise a new stitch or motif on one shirt from the pack before taking it to a piece you love.
Heads Up: Knit fabric stretches, so use a stabiliser behind any embroidery to keep it flat.
The practice piece that becomes a staple 🌿
Eco-conscious choice · Everyday comfort
9. Press, Iron-On, and Set Your Work
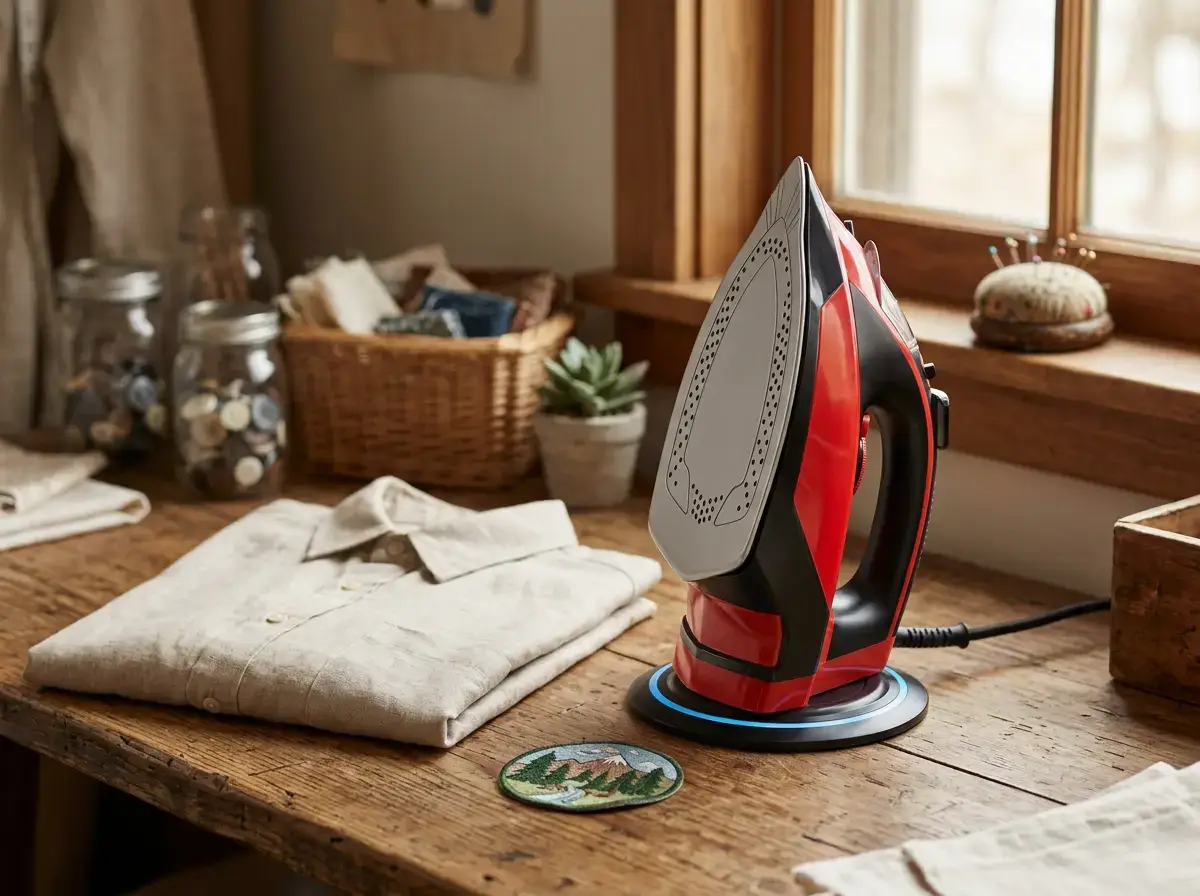
Behind almost every project in this guide is one humble hero: a good iron. Iron-on patches, hem tape, heat-set paint, and crisp folds all depend on steady, even heat. A cordless iron makes the whole process easier — no cord dragging across your work, and you can press anywhere.
It’s the tool that quietly makes everything else look professional.
Pro Tip: Always use a thin pressing cloth between the iron and embellishments to protect both the fabric and your design.
OMAIGA Cordless Iron
Why We Love It: Cordless freedom plus quick 1500W heat-up means no waiting and no tangled cord knocking your patches out of place. It heats fast, presses evenly, and stores neatly — ideal for small-space crafters.
Best For: Iron-on patches, hem tape, and heat-setting paint.
Key Features:
- Cordless design for freedom of movement
- Fast 1500W heat-up with steam
- Compact and easy to store
Pro Tip: Let it reach full temperature before pressing iron-on patches so they bond on the first try.
Heads Up: Cordless irons reheat between presses — pause a moment for thick denim work.
The tool that sets every project 🌿
Sustainably made · Trusted by conscious shoppers
10. Layer and Restyle the Whole Look
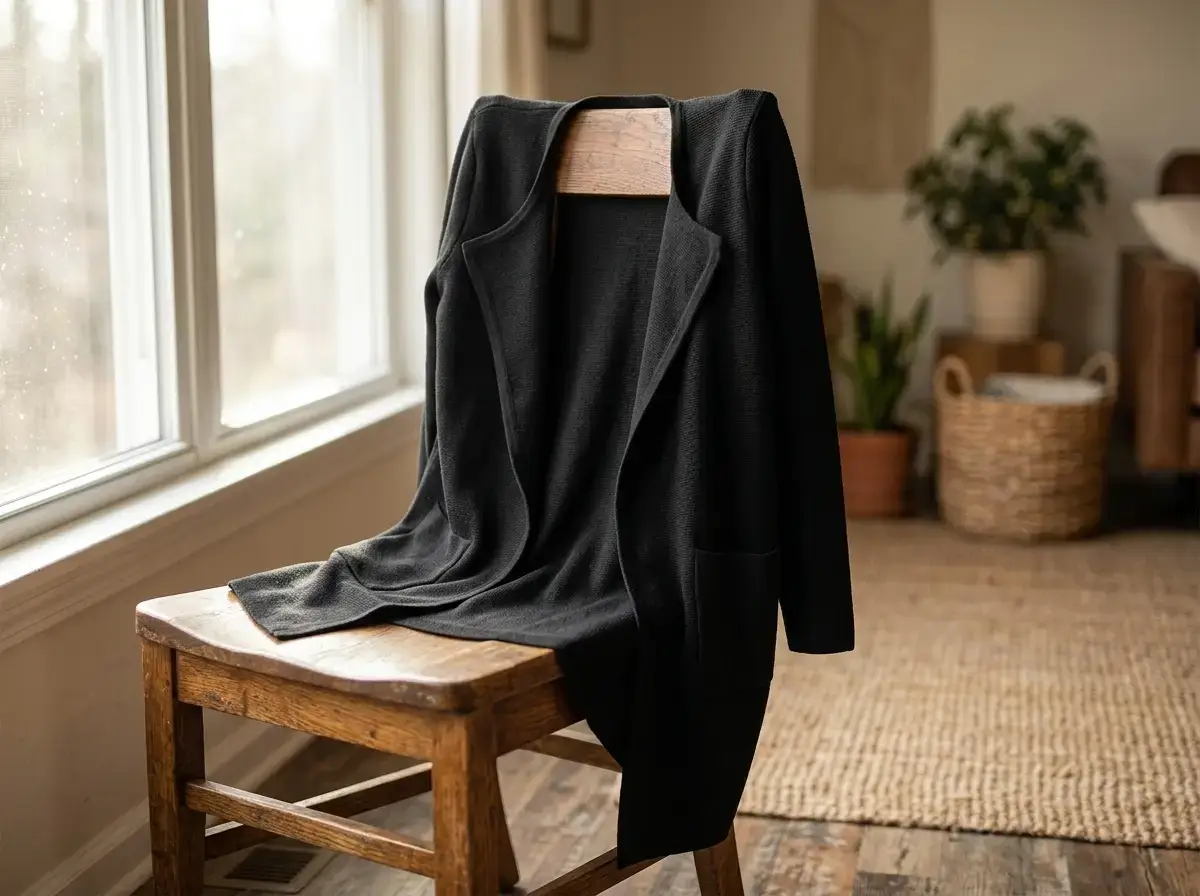
The final “project” isn’t a technique at all — it’s restyling. The most sustainable fabric swap is often simply rethinking what you already own. Layering a soft cardigan over your newly upcycled blouse or painted tee instantly creates a fresh outfit without buying a whole new wardrobe.
Restyling stretches every piece you make and proves that sustainable fashion is really about wearing things more, not buying more.
Pro Tip: Build a few three-piece “uniforms” from your upcycled pieces so getting dressed feels effortless.
ANRABESS Cardigan
Why We Love It: A soft open-front knit that layers over almost anything — your patched jacket’s day off, your embroidered blouse, or a painted tee. With thousands of glowing reviews, it’s the cosy, versatile layer that ties a handmade wardrobe together.
Best For: Effortless layering over your upcycled pieces.
Key Features:
- Soft open-front knit in an easy, relaxed shape
- Neutral tones that pair with everything
- Works across cool and transitional weather
Pro Tip: Add a couple of embroidered motifs to the pockets to tie it into the rest of your handmade collection.
Heads Up: The relaxed knit is generous — size down if you prefer a closer fit.
The layer that ties your wardrobe together 🌿
Eco-conscious choice · Everyday comfort
Frequently Asked Questions
What is upcycled fashion, exactly?
Upcycled fashion means transforming existing clothing — pieces you own or buy secondhand — into something more useful, more beautiful, or more “you,” instead of throwing them out. Unlike recycling, which breaks materials down, upcycling keeps the garment intact and adds value through creativity. It’s one of the most accessible and affordable ways to dress more sustainably.
Do I need a sewing machine to start upcycling?
Not at all. Many of the projects here are completely no-sew: iron-on patches, hem tape, fabric glue, paint, and markers all work without a single stitch. A small hand-sewing kit is helpful for repairs and adds durability, but you can create genuinely impressive pieces with no machine at all.
What are the best fabrics for beginners to upcycle?
Natural, sturdy fabrics are the most forgiving. Denim, canvas, and cotton hold patches, paint, and stitches beautifully and don’t slip around while you work. They also bond well with iron-on products. Stretchy synthetics and very delicate fabrics like chiffon are workable but trickier, so save them for once you’ve built confidence.
How do I make sure my designs survive the wash?
Heat-setting is the key. Iron over painted or marker designs (with a cloth between) to lock the colour in, press iron-on patches and hem tape for the full recommended time, and let fabric glue cure for a day before the first wash. Washing inside-out on a cool, gentle cycle then protects your work for years.
Where can I find clothes to upcycle?
Start with your own wardrobe — that “almost right” piece you never wear is a perfect candidate. Beyond that, charity shops, thrift stores, and clothing swaps are goldmines for sturdy bases like denim jackets and jeans. If you can’t find the right base secondhand, a quality new blank is a fair starting point you’ll wear for years.
Is upcycling actually cheaper than buying new?
Usually, yes — especially once you’ve built a small kit of reusable tools like scissors, an iron, and a sewing kit. After that initial setup, each project costs little more than a few patches or a tube of paint, and you’re extending the life of clothes you’d otherwise replace. The savings add up quickly across a year.
Your Wardrobe, Reimagined
Upcycling isn’t about being the most talented sewist in the room. It’s about looking at what you already have with fresh eyes — and realising that a worn jacket, a plain blouse, or a pair of dated jeans is really just a project waiting to happen.
Pick one project from this list and start this weekend. The first stitch, the first patch, the first painted line is always the hardest — and after that, you’ll never look at a charity-shop rail the same way again.
Ready to begin? Grab the one tool or base that matches your first project and make something today.
Sustainably made · Trusted by conscious shoppers
